Creative Blog
Here you'll find various posts about the various creative projects I work on and events I've attended. Sometimes there will be a tutorial, other times there will just be my experience cataloged.
iframe Randomizing
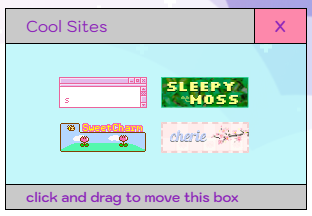
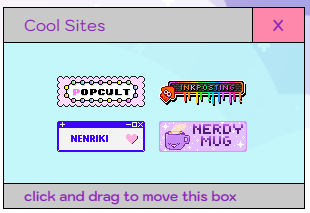
One of my favorite coding languages is jQuery because of its ease of use and extensive api documentation. I've used quite a bit of jQuery on my website so far! One of my favorite uses has been to randomize the things that show in the popups on my pages, such as the pixel clubs I'm particiapting in, or the links out to other websites.
To achieve this, I used some pretty simple jQuery and a while loop. If you'd like to implement this on your website, feel free to use the code below!
The Set Up
You need the jQuery CDN for this!
<head>
    <script src="https://code.jquery.com/jquery-3.7.1.js" integrity="sha256-eKhayi8LEQwp4NKxN+CfCh+3qOVUtJn3QNZ0TciWLP4="
    crossorigin="anonymous"></script>
</head>
Set Up your HTML, make sure the elements you want to be randomly shown have an ID with numbers counting up from 0. I use "data-name" as a way to help me keep track of the visual elements on the front end. In this use, I might label the "data-name" with whatever words are on the image.
<body>
    <a href="#" target="blank">
        <img id="0" data-name="" class="button" src="#">
    </a>
    <a href="#" target="blank">
        <img id="1" data-name="" class="button" src="#">
    </a>
    <a href="#" target="blank">
        <img id="2" data-name="" class="button" src="#">
    </a>
    <a href="#" target="blank">
        <img id="3" data-name="" class="button" src="#">
    </a>
    <a href="#" target="blank">
        <img id="4" data-name="" class="button" src="#">
    </a>
    <a href="#" target="blank">
        <img id="5" data-name="" class="button" src="#">
    </a>
</body>
The body should be as big as you want your iframe to be on the website. We're making the image display none, then when jQuery 'choses' the id randomly, it will be given the class of .show
<style>
    body{
        width:200px;
        height: 50px
    }

    .button{
        display:none;
        margin: 5px;
    }
    .show{
        display: inline;
    }
</style>
And the jQuery that makes it happen! In my example, I want the code to "count" up to 4, then stop. This while loop takes the variable "i" and adds 1 to it until it hits 4 then stops.
This code also generates a random number between 0 and 5 (getRandomInt(6)) as it starts. We then assign this random number a variable so that we can use that number to call the ID of the image we want displayed on the front end. The variable we're using in this example is "rand"
As the while loop adds 1 to "i" each iteration, it also adds 1 to our random number. I've also added in an "if" condition, so that if the variable rand exceeds our largest ID, it will loop back to 0 and count up from there. Assuring we always have the amount of images showing that we need.
<script>
  let i = 0;
  function getRandomInt(max) {
  return Math.floor(Math.random() * max);
}
let rand = getRandomInt(6);
  while (i < 5){
      $("#"+rand).addClass("show");
      i++;
      rand++;
      if(rand>5){
          rand=0;
      }
  }
</script>
Remember, as you add more images to this code, you also have to increase the numbers in the jQuery. x = largest ID+1, y = largest ID
        let rand = getRandomInt(x);
        if(rand>y){
The last thing to do is set up an iframe in your code where you want this all to be displayed! This is how mine is set up, but yours will look different depending on file names, box styles and classes
<iframe class="links" style="border: none;" src="buttons.html" title="Buttons Linking Out" height="100px"></iframe>
If you want to use this code and have any questions, feel free to hit me up in my cbox, or on my neocities profile! I'm always happy to help debug and explain!
back to top of page